This post was updated April 2019. Then, again in July 2019!
Unfortunately, the Ezimba site is no longer available.
Please disregard this post.
Feel free to visit these posts on Alternative Graphics Software.
Ezimba is one of the simplest online image editors. It is all you need for basic photo editing. Plus, you don’t need to be a software guru to use it!
To use Ezimba, visit the Ezimba website, and choose to upload your image from your computer, from a website or from your camera.

Ezimba for Creative Entrepreneurs
Before we get into the details of using Ezimba, let me just share that using Ezimba is just plain fun! As Creative Entrepreneurs, sometimes we just need a break from the day-to-day stuff and an outlet for just playing, and even being creative, not to mention you might even find a use for Ezimba in your Creative Work.
How to Use Ezimba
After uploading your select image, choose your effect or effects with just a click of a button! Ezimba offers numerous techniques and options.
In this post, I am applying one one technique at a time. However, you an easily apply multiple techniques by selecting more techniques without returning to the original image.
If you’d rather just watch a video, check it out!
Overview of Ezimba Techniques
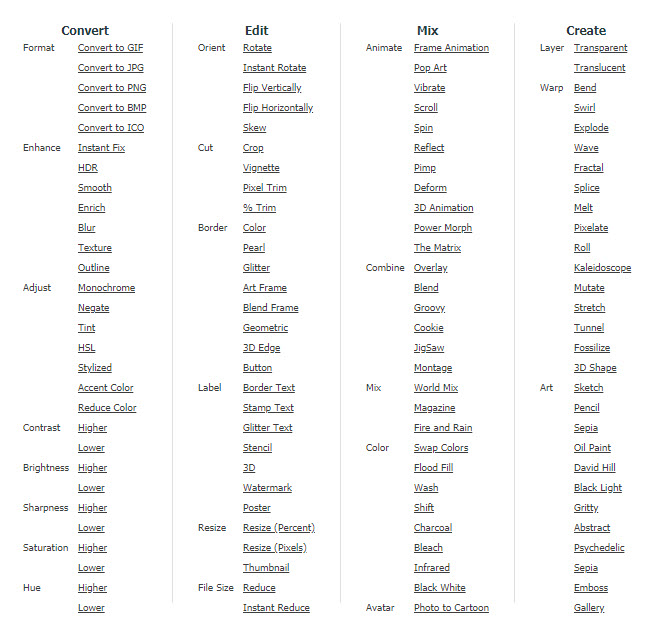
Notice the columns across the top. Ezimba categorizes all their techniques into these four columns:
- Convert
- Edit
- Mix
- Create
When you click on an option within one of these four columns, that effect is applied to the image at the top of the page. Many of the options will take you to a second page where you can customize the settings for the selected effect.

Border Text Example
Let’s walk through adding border text to an image.
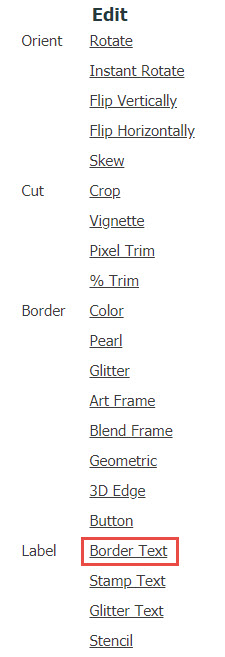
This takes you to a second page where you can select the font, font size, and the color of text and background.
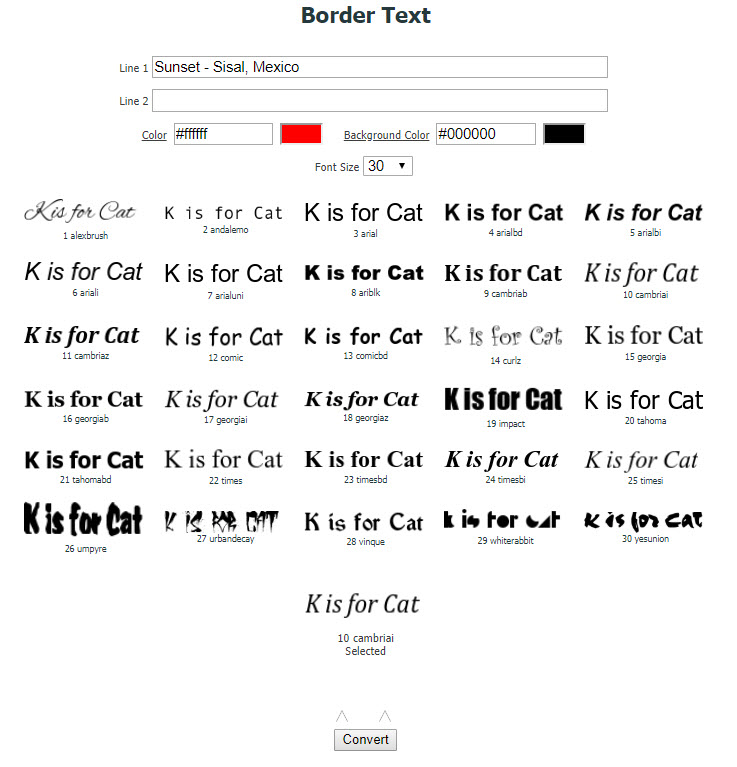
Set and select your options and click Convert.
The effect will be applied and shown at the top of the page.

Quick Glance at Ezimba Techniques
Let’s take a quick look at the available techniques using Ezimba.
We will look at the options within each column.1.
1. Convert Column
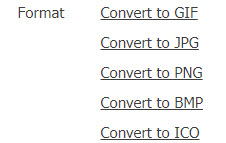
The first set of options in the Convert column lets you convert your image to popular file formats.
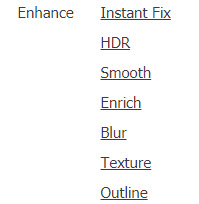
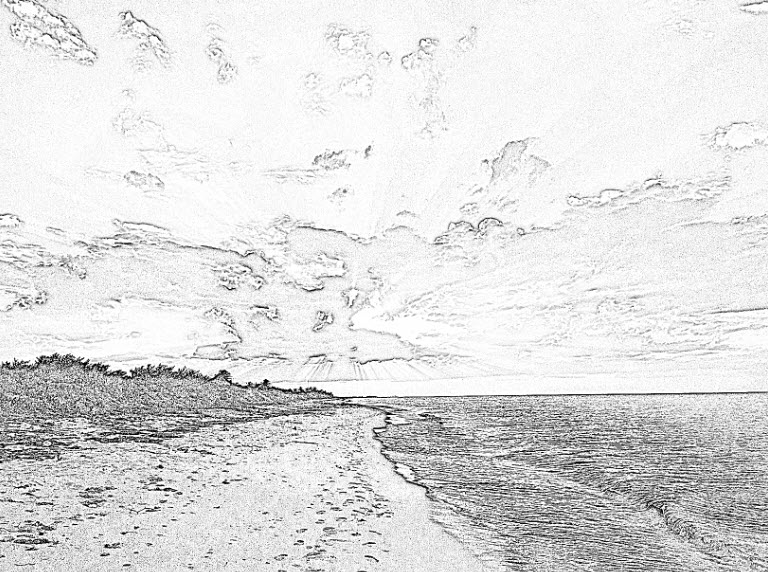
The Enhance effects give you a variety of available techniques. Below is the Outline option. It turns the image into a pencil-like drawing.
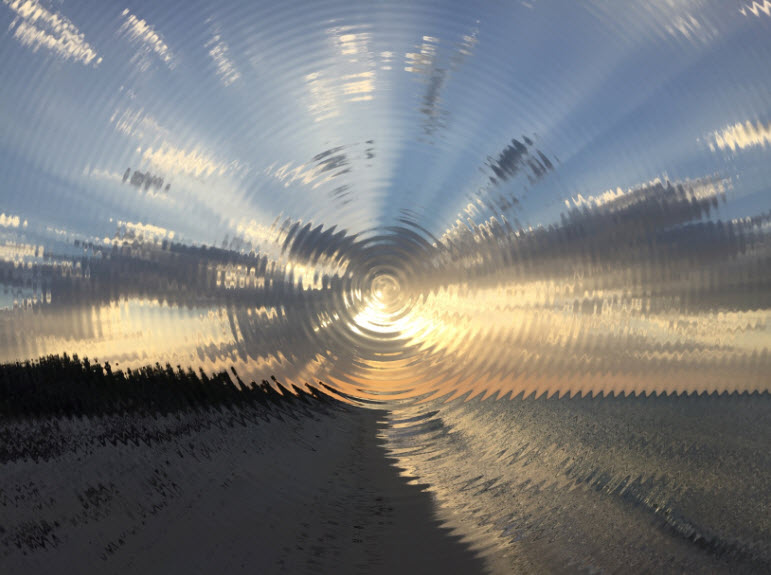
And, here is the Texture/Pond Ripples effect.
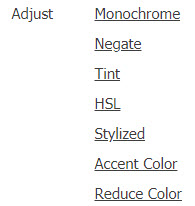
The next set of effects in the Convert column are the Adjust effects. These effects adjust the color(s) of an image.

The remaining options in the Convert column allows for quick image adjustments pertaining to contrast, sharpness and color.
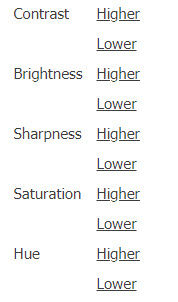
2. Edit Column
The first set of options in the Edit column effect orientation. You can easily apply the desired orientation with a click of a button.
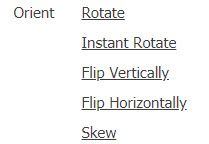
The next set of effects are the cut options. Apply these effects to crop, trim, or even create a vignette.
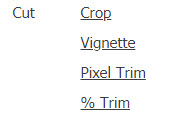
The vignette option cuts the image into an oval with a feathered edge. You are not able to customize this effect.

Ezimba allows you to easily add a variety of border effects.
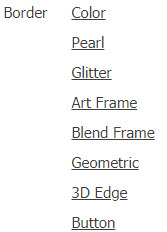

The next set of effects let you add text to your image.
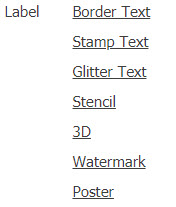
We observed the Border Text effect in the example towards the beginning of this article.
Notice the other interesting effects available for labeling your image, including a watermark.
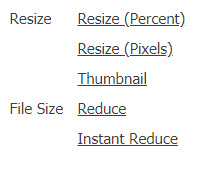
The remaining options in the Edit column lets you resize the image and reduce the size of the image file.
You can resize the image by a percentage or by specifying the size by pixels.
3. Mix Column
The effects in the Mix column expands your imagination!
The first set of effects, Animate, shoots the fun factor sky high!
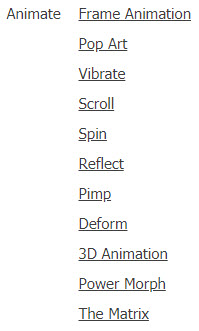
Most of these effects have customized settings, allowing you to specify how you want a particular animation applied.
Be forewarned, that these animations not only take time to process, they will take up resources as well. But, who cares?! They are very fun to play with.
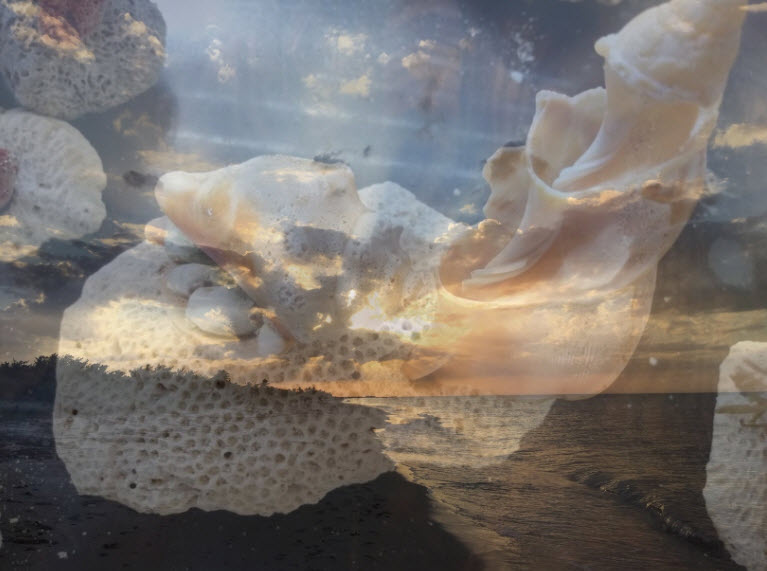
The next set of effects, under Combine, lets you add another image in various methods. The featured image of this post is an example of the Blend effect.
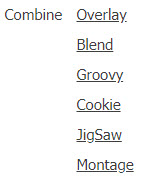
Three techniques are available in the Mix section.

Ever want to see your image on the front of the National Geographic? Check out the Magazine technique.
Unfortunately, you are not able to edit any of the titles.

The remaining techniques in the Mix column have to do with color and creating an avatar (or cartoon).
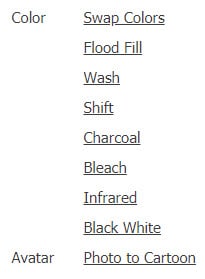
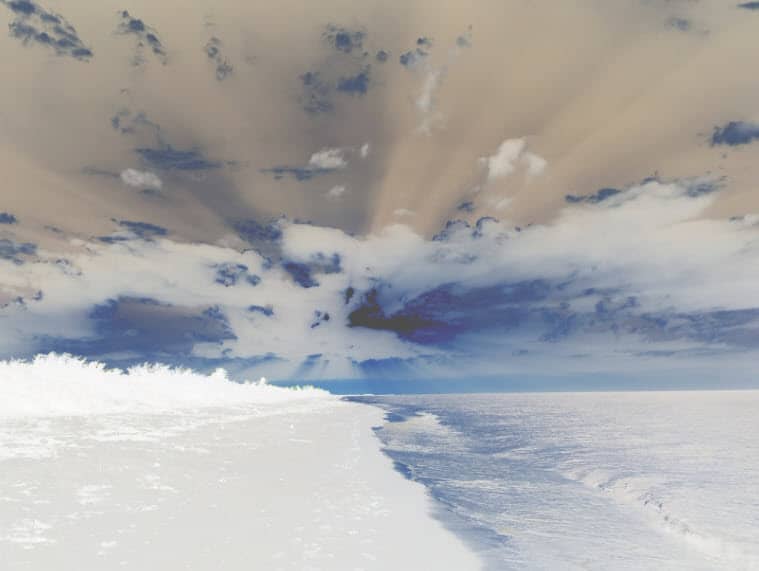
The Color techniques can result in some interesting (and sometimes, weird) manipulations.
4. Create Column
The Create column starts with the Layer options. You can add a transparent or a translucent layer with customized settings.

The fun factor again shoots up when experimenting with the Warp effects.
Below is the Swirl effect.

The final section of the Create column is the Art section. It is another of those sections where it’s fun just to experiment.
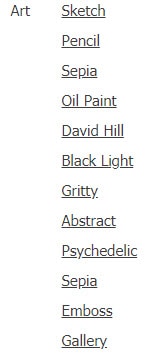
Below is the Oil Paint technique.

Applying Multiple Effects
In the examples above, I applied only one technique at a time. You can easily apply multiple techniques to an image simply by clicking on additional effects.

That website can’t be reached. Maybe service has stopped.
Thanks for the heads up, Kenneth. I updated the post to reflect this.
Your site for it has been down for over a week.
Yes, it does look like the Ezimba site has come down. Bummer. I updated the post to reflect this.
What happened to ezimba.com? It was such a good website!
I agree! It was a great site! I do not know what happened to it. Bummer…
ezimba is very nice