This post covers how to set a Facebook page for your business. As with any social media venture, or website for that matter, setting it up is just the beginning. Managing it and using it effectively is another topic.
Let’s get started on setting up a Facebook page.
Create Fan Page
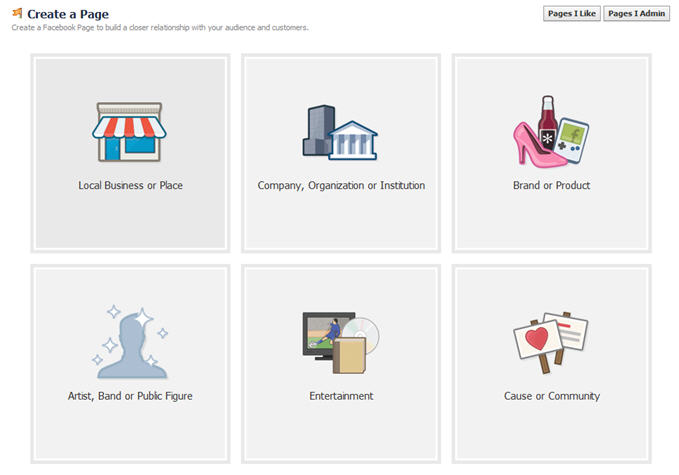
You can select to ‘Create a Page’ from within your current facebook account, or go to Create a Page.

Select the type of page you’d like to create. The choices here simply give you default settings appropriate for that type of fan page.

Select the appropriate category and enter your company name.

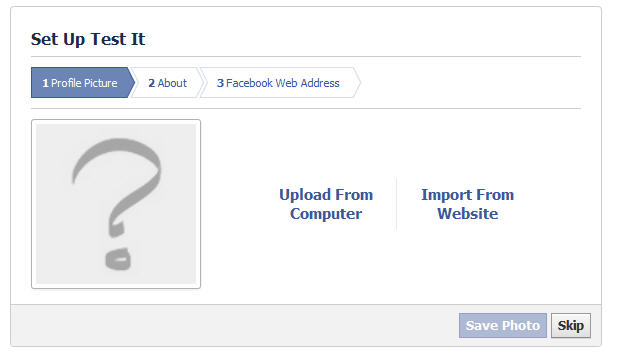
You may upload your profile pic (can be company logo) in this step, or choose to do it later.

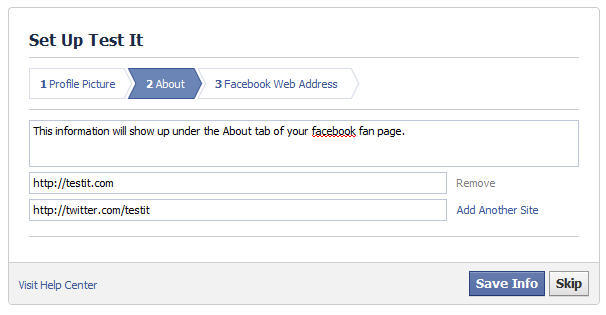
In this next screen, enter an overview of your company and your website address and any social media links. This information will show up on the About tab of your Facebook fan page. You can add or change this information at a later time.

Enter your desired facebook address. It will start with http://www.facebook.com/your-desired-address. This will usually be your company name.
This is the URL that you will use on your email signatures, on your website, or anywhere else you might want to link to your facebook fan page.

On the next screen, choose to Hide the admin panel, for now.

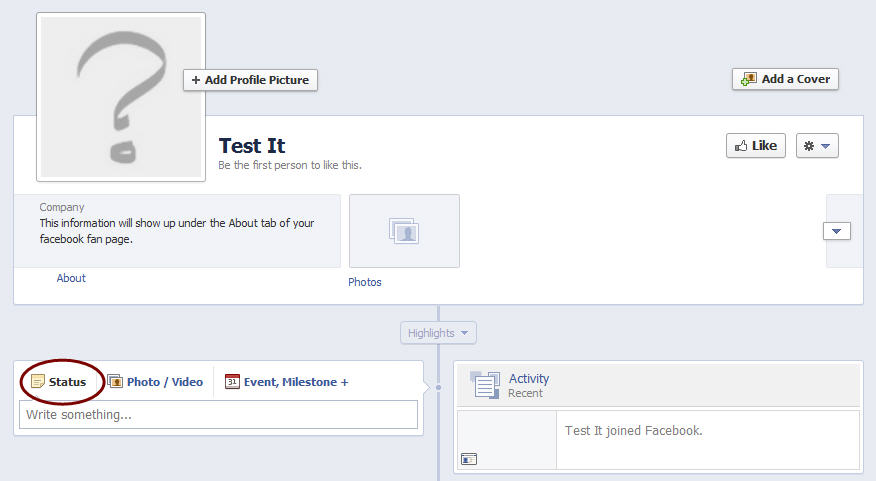
Your page is now set up! You can add a status (share a link, or greet your fans, or…), or add photos.
If you haven’t uploaded a Profile Picture, you may do this from this screen by clicking Add Profile Pic. Also, if you want to add a cover photo (a great way to brand your company), you may do that by clicking on Add a Cover. The recommended size for a cover photo is 850 x 315.
The combination of a cover photo with a profile pic will have this layout:

You are ready to invite others to ‘like’ your page!
Share valuable information and relevant content to continue to grow your ‘likes’.
For more info:
28 Things You Need To Know About The New Facebook Pages
The Complete Guide to Setting Up the New Facebook Page Design
What has been your experience with Facebook? With a fan page?
